Showing posts with label baby quilts. Show all posts

Saturday, October 15, 2022

A Finish

 Jack's drag around quilt is finished and I am pleased with the way it turned out.


I stitched in the ditch along all the the colored patches and it was easy moving from top to bottom along the inside seam on each block and the back up the outside seam. I carefully stitched over some seams to avoid ending and restarting. I can't easily use a hand needle to bury threads so I start and end with tiny stitches in the ditch where it is hard to see. The backing on this quilt makes the overstitched lines invisible. I stitched 2 lines corner to corner across each focus fabric square.

I sewed the binding in my usual way, sewing on the front and turning to the back and fusing the binding with narrow strips of Wonder Under;  I am careful to cover the stitching. I sewed the binding on with red  thread and it was easy to see and cover on the back. I stitch in the ditch from the  front and my stitching catches the edge of the binding on the back. Sometimes the stitches on the back miss the edge a little and I need to do some hand stitching and sometimes the binding on the back is  little wider and the stitching is a bit far in from the edge. Because it has become so difficult for me to do any hand sewing, I paid more attention to my quarter inch seam when stitching the binding to the front. It paid off by the edge of the seam on the back falling in the exact place it needed to be. I have been doing my binding this way for a long time and this is the first time ever that the stitches caught the edge of the binding in the perfect place on the edge of the entire perimeter. 

This is one corner folded back.


This is  what it looks like on he front. probably not he same corner because the photo was an afterthought.


I think a rather long time of no quilting and recognizing that arthritis in my hands it here to stay has forced me to develop better habits. Sometimes you have to search hard to find an up side to an unwelcome change in one's life. There it is and I'll take it.

This quilt will be on it's way next week, along with a little draw string bag of the same fabric for big brother. When they were here Elijah saw the fabric and asked "For me?". Of course, I have to make something to send along for him. The bag is waiting for me to get started.

Saturday, September 24, 2022

Jack's Drag Around Quilt


 I have made a small start on great grandson Jack's drag around quilt.  I thought I knew exactly what I wanted to do so I worked out the borders in  EQ. Thankfully I did not do any cutting. I thought I wanted a 30 inch square in the center surrounded by pinwheel blocks. I thought I would quilt around the construction objects in the square but when I looked at the size of the square and the number and placement of the objects I quickly discarded that idea.


This is the EQ version with the scanned fabric in the center. For the border, I decided that I would cut 6 1/2 inch squares and alternate them with pinwheels, maybe!

Discarded that idea and went on to doing other things while keeping the possibilities in the back of my mind.


I remembered this "Tumbling Charms" quilt that I made from a Missouri Star Quilts video.
Instead of Charms I use "made fabric" squares.
Click here for another quilt from the same pattern.


This is my EQ version of the original tumbling Charms layout using solid colors, pulled from the construction fabric for strips on 2 sides of the print squares. I thought this would be the quilt layout. However....................................


I recolored the strips and played with this version in EQ for a few days. I discarded this after another recolor in EQ.


This was the next version in EQ after discarding the yellow strips in each block and making each block with short and long strips of he same color. 
I  really thought this would be the final version.

However i decided to play with the Symmetry tool. It flips and rotates all the blocks at once in different patterns. I think it changes to about 17 different layouts before going back to the original. I went through them all as it only took one click to turn the whole layout


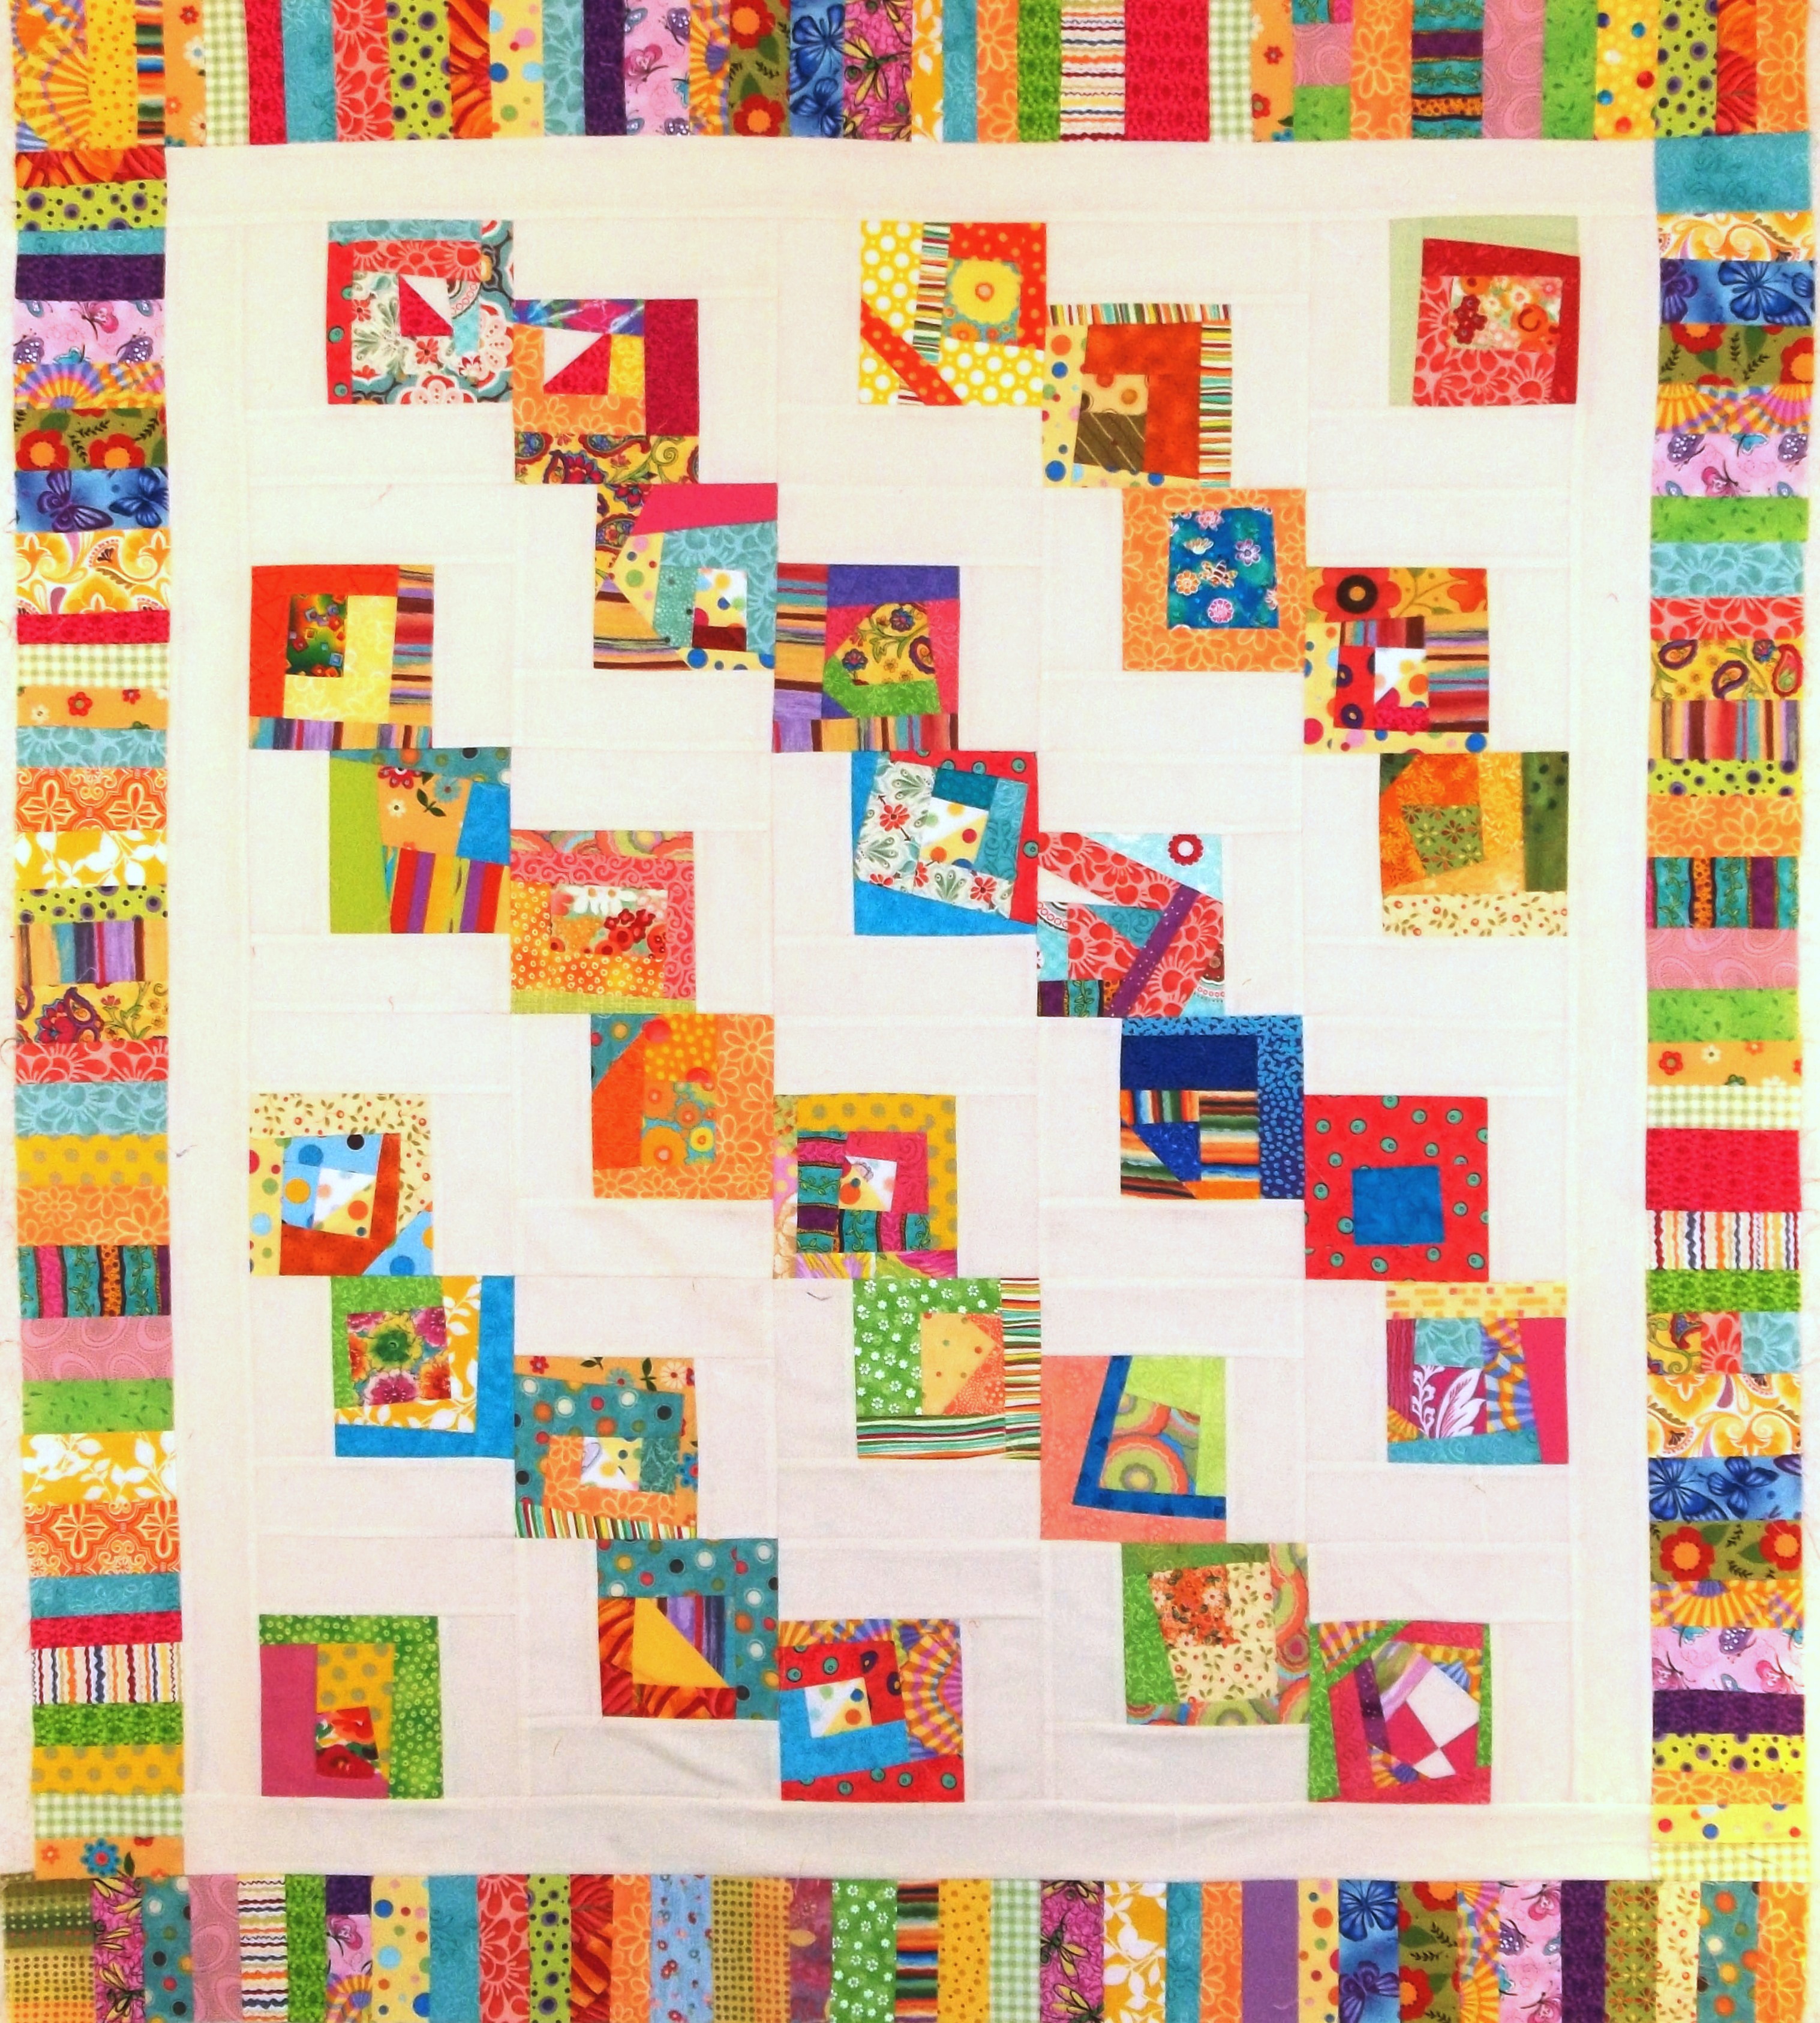
This is the final version after going through all the options and making some changes without the Symmetry tool. I discarded all the other layouts after thinking about them for a few days.

I like this kind of jumbled up layout because it isn't so predictable and static.
This is going to require a little more attention to the placement of the solid strips on the correct sides of the print square. The print is directional and I want all of the print squares in the same direction. There are many elements in the print that would be fun for little people to look for and count. I believe that the scale of the print would make that harder as well as giving the quilt a disorderly appearance if the direction of the squares were mixed up.

I have printed the layout in color, and by using EQ for the layout I should be able to sew the solid strips in the correct position for each block.  I have not yet decided whether the strips will finish 1 1/2 or 2 inches. That is a decision for the design wall. I will start out with 2 1/2 inch cut strips and see how it like it. If I don't like the way it looks I can cut them down to finish at 1 1/2 inches and cut the rest of the strips 2 inches. 

All I have to do now is find the time to work on this. I never really appreciated what a blessing it was to have all the time I needed to do whatever I wanted to do. We'll see how it goes.

Tuesday, May 11, 2021

Finished

Alphabet quilt is finished 


The quilting went well as I quilted  in the ditch along the sashing but after that,  not so much. Every block had to be free motion quilted differently. I had to change thread colors several times and determine where to start and stop stitching in order to minimize the number of thread tails to bury. My fingers have been especially troublesome during this quilting process so there were some days I just skipped working on the quilt. Who would ever think that picking up thread to thread a needle would be painful?  When your thumb and index finger don't meet properly, your pinch is inadequate and that makes you press them together harder and that causes pain in the joint. Free motion quilting is also a  joint stressor. As I went along, I was not pleased with the quilting but after the center of the quilt was finished and the border quilted and the binding finished, I like it.... a lot.

My daughter stopped for a visit last Friday and took the quilt with her to give to the new parents.  It was after she left that I realized that I had no photo of the finished quilt.  I texted her to take photos  of the front and back but I have only one of the front.  That's OK the back doesn't look different than the flimsy except for the binding.


Thursday, March 21, 2019

Baby Quilt

I am trying to finish up quilts that I have committed to make. I gathered up the fabrics for this little baby from our donated fabric at church. I finally got around to working on it almost 2 weeks ago. It has taken longer that I thought it  would but I finally finished it today.

It measures 36 x 36; this is my new favorite size for a baby quilt made for our Caring Closet at church.  It is not too big to cover a baby in a car seat or stroller and big enough to lay on any surface for the baby to lay on. It is also a good size for a toddler to drag around should it become a favorite "blankey".

The fabric is definitely girly fabric there are pink things and girly words on the fabric.
The pinwheels and the motif squares are 4 inches. I meant for the large center square o finish at 12 inches but I cut one side wrong, hence the frame around the center square.


A closeup of the center square and some of the 4 inch motif squares.
I quilted in the ditch around all the pinwheels and 4 inch squares and across the diagonal in two directions.
All the little motifs in the center block had dotted lines around them and I quilted just out side those lines to outline them. I used my walking foot with white thread for all the quilting. White thread seemed like the best choice for this quilt. 
Using the walking foot was the best choice for me because my arthritic hands make free motion quilting more punishment than I want to deal with.


This is the back of the quilt. After using some of the pink fabric on the front  for  the corner pinwheels and the frame around the center square, I came up just short of having enough for a whole cloth back.
I had cut too many fabric squares for all the other pinwheels so that worked out well for pinwheels on either side of a large  fabric square on the back. I was able to cut a piece with some of the words that were too large to get for the pieces on the front.


This is a closeup of the pieced strip on the pack. I was able to get one square with all of the words and images in the fabric. 

I am sometimes a little cautious about using colored quilting thread when I have a pieced back. This was one of those times and I think white was the right choice.

I usually prefer more vibrant colors for my quilts and I wasn't so sure I would like this pale pink. I wasn't sure about using the light blue Grunge for the background in the pinwheels,  White or Kona Bone might have bee more contrast but I decided on the blue because of the blue background in the focus fabric.  All in all, I think it turned out to be a rather sweet little quilt.

Wednesday, November 21, 2018

Baby Quilt etc.

Before I made the pot holders I finished the 3 row of blocks for another heartbeat baby quilt.

I sewed the blocks into rows and have them pinned on my design wall. I stopped there because I wanted to make the potholders and get all those fabrics put away. 

I am still thinking about whether to use the focus print for the 6 inch strip at the top and the 18 inch strip at the bottom. This is how it would look. The background color is a it darker that the fabric in the blocks but it doesn't love horrible.


This is how it would look with the fabric from the blocks. I think this is the way to go now that I see it in  photograph. The print fabric will be on the back so it will still have kid appeal.


I still have the Christmas fabric sitting on my table and I might be ready to put it away, but maybe not. I made 8 mug mats and maybe I  will make  few more.

I made these for a table my DIL and I are setting for a Christmas luncheon at our church. There are 8 people at each table; the tables are all decorated by different people. We are using my Christmas dishes and 4 of my place settings have saucers and 4 don't. They are all  mugs so they all work out fine without the saucers,  These will be the favors (along with some chocolate) for each person at our table to take home. They measure 5 3/4 inches across the sides and 6 3/4 point to point.

 I have a lot of the polar bear fabric and a lot of the 2 bird fabrics from the potholders. I also have some fat quarters that I bought and didn't use, small pieces of batting, and a giant box of red and green strips that I should either use or lose. So ........ I might make more, we'll see!

Monday, November 12, 2018

Potholders

I haven't been idle since I finished the "Heartbeat" baby quilt. It seems as though everything takes twice as long to do anymore and I don't find the time to post.

I made some potholders for the boutique at the women's Christmas luncheon at our church. Our quilting group members made several different things so I didn't need to make a large number myself.

I used the tutorial for the Hexagon potholders from SewCanShe blog: it is a good tutorial.

These are the fronts and backs of the 3 different kinds I made. This time I purchased fabric for the potholders but I have also made them in the past using scraps.

I make the backs with a seam that I leave open for turning so I don't have to deal with hand sewing the edge closed. Hand stitching is getting harder all the time for me.

I layer the fronts with Insulbrite and quilt in the ditch then add a layer of Warm and Natural and the back and stitch all around and turn. I stitch in the ditch around the center hexagon to hold it all together.

I made some with 3 fabric strips like these first 2.


The rest are made with 2 fabrics for the strips. They all have the red candy cane backs which is fabric from our quilting closet at church.

I brought some other fabric home from the closet but decided it is large scale print and won't work as well. I will put it back in the closet for another project.


Our quilting group met for breakfast Saturday and then took a road trip to 2 quilt shops. I had been waiting until then I buy fabric for the next "Heartbeat" baby quilt.

This is the focus fabric; I wanted something that was not gender specific.


This is the fabric I will use for the 3 rows of blocks.

It is washed and ready to cut and I
am ready to get started.


.

Monday, October 22, 2018

A Finish and a Refinish

I Finished the "Heartbeat" baby quilt yesterday. I waited until today to get photos of it because daylight is always better, even coming through the windows.

Front after quilting.

 I quilted in the ditch around all the yellow squares and through the center of them as well with a matching thread.
I had quilted across the diagonal of the Heartbeat blocks with a running zigzag stitch using variegated  thread.
 I marked and quilted a square 3 inch grid over all of the brown bubble fabric using the same running zigzag stitch.  I like that stitch for  children's and whimsical quilts because it is usually forgiving and adds a bit of fun. I frequently use a bright variegated thread as I did here.


 The green blocks were in the center of the quilt and the least easy to maneuver through the machine and there were some problems in that area. I debated about whether to try and fix it and I decided I needed to remove the stitching
across the green and do some"refinishing".


It is better (a little better) but in one area my running zigzag stitches are stretched out. I redid that area once more but I had the same problem and I decided it would be better to leave it and not try again..


The quilt back.


The small shot of the back  shows the quilting best but it really doesn't show up well in real life either.

I like the quilt for the pattern and fabric choices but I am not so happy with my quilting. I am reminding myself that this is a baby quilt which will be used and washed often and I know it will be appreciated. It won't be a wall hanging (at least I hope not).

For now I will go over the quilt and look for any toe catchers and clean off any loose threads from ripping out those seams.


If I make this pattern again (and I think I will) I will skip the third band of Heartbeat blocks and make it according to the original pattern. If I quilt it the same way it will probably be easier with only 2 bands of blocks and I am aware of a couple of reasons I might have created those problems for myself.

Tuesday, October 9, 2018

Backing

I went out shopping for backing and found something without agonizing over it. I didn't take long and I only pondered over about 3 possible choices.
When I got home and measured it against the  quilt top, I knew I would have to piece it because it was only about 1/2 inch wider.  When I laid a strip of the dotted fabric on top of it, to check how it would look, I knew I had made the right fabric choice. I cut a 5 inch wide strip and inserted it about 1/3 of the width from the left. After adding the strip the back turned out just wide enough to have about 2 inches extending beyond the top and batting.


It is all layered and pin basted with an overabundance of pins and ready to quilt. This photo of the back, though it is bumpy because of the basting pins, shows the true color of the fabric. I like it because there are a number of different things for a little person to find.


Saturday, October 6, 2018

A Flimsy

I have been working on this baby quilt for the past 10 days and I finished the top this afternoon. I found the pattern in the September/October issue of Love of Quilting magazine.

The pattern is "First Heartbeat by Terri Vanden Bosch.

I changed the pattern a little by adding the third band of blocks.  I did that because when I was shopping, without the magazine with me. I thought I needed 3 different fabrics for the bands. I chose the 3 fabrics and the gold for the small blocks because those were the colors in the dotted fabric.
I had the green fabric in my stash at home but it was not with me at the shop.


A closeup of the fabric in which the color is almost, but not quite, true.

When I got everything together at home, I saw that I had one too many fabrics for the blocks. I also questioned my choice of gold for the small squares. It really doesn't show up well next to the green. I went out shopping again and bought a lighter soft yellow and then decided that after all, it was too insipid.
The quilt needed the turquoise and magenta to brighten it and I wanted the green because it was a perfect match for the green in the dotted fabric. Beware of perfect matches, they can lead you down the wrong path.


EQ7 version of the 4 different blocks in the quilt.
I scanned all my fabrics and sent them to EQ7 and worked out how I wanted to handle the changes. I decided to leave the 6 inch strip of dotted fabric as the pattern called for and change the wide strip from 18 inches to 15 inches.  That makes the quilt 42 x 45 instead of 42 x 42.

This is an easy pattern and it should have been fast. After I made the first band of blocks I decided to figure out how I could press for all opposing seams. That slowed me down a little (and caused me a lot of frustration). I shouldn't have bothered because everything went together easily even where the seams were not opposing.

This is definitely not sweet, but a rather sophisticated palette for a baby quilt.
 However, I do like it, even with the low contrast between the gold and green. 
 I have decided to find a fun print for the back 
and 
I am not going to agonize over it matching anything, 
well.... maybe a little.


Thursday, August 30, 2018

A Finish and a Start

I finished the Kitty Pinwheel baby quilt.The quilting went quickly as it was simple and didn't require many stops and starts. I am loving my new strip lights on my machine more and more, everything is so much easier now that I have better light.

This measures 34 inches square and the back of the quilt is the same as the background fabric.


This is my new start. I bought a panel that I am going to use as it is, only trimmed  down to fit a space inside my front door. I added the narrow green and orange/black borders to lighten and brighten it up a bit.  I have something else in mind for the space where this will hang but it is still in the planning process and it is not going to happen soon.
Once in a while I use a panel as is when I like it as it is and want something without spending a lot of time piecing and agonizing over details. I don't consider these "cheater panels" I consider them "smart panels. This will give me some practice doing free motion quilting , which I haven't done much lately.

I  usually go into overkill when it comes to pin basting and this is more than most and might turn out to be a pain in the neck.  I wanted to be sure there was no shifting with the quilting, especially around the edges. I made the backing before I did anything with the top and changed my mind about how much to trim way and then added the inner border. I had to add an extra strip in the plaid fabric and a strip at the top. I barely squeaked by on the width, If worse comes to worse with the quilting I will trim the border a little bit.


I pieced the backing using odd pieces from my box of black with color fabrics. I think the Debbie Mumm strips are from way back  (over 25 years). Jack asked why I  fuss about the back since it doesn't show anyway. Why not use  something else or why not just go and buy a bigger piece of something.  Well for one thing I am happy to be using up some of my odd pieces since I seem to be unable to just get rid of anything. Beside that I like the back to be fun, JUST BECAUSE!


Friday, August 24, 2018

Pinwheel Flimsy

I finally finished the top for the pinwheel baby quilt. I had the blocks sewn together and then progress came to a stop.

I wanted a very narrow inner border (1/2 inch finished) and I thought I had worked out how I would sew the narrow strip to the wider border strip before sewing them to the quilt. I thought my chances of having the narrow border turn out even would be better that way. There were many interruptions and I lost my focus. In the end I "unsewed" the wider strips from the first 2 borders on the quilt and sewed the narrow strips on the quilt on the other two sides and then the 4 wide strips. It came out well.
I plan to use the same green fabric for the binding.


This quilt came together easily from start to finish. My points were all good, my blocks were all sized right and my seams matched. My 1/2 inch inner border even came out even. I know the difference is because of my strip of LED lights. I can really see the edge of the fabric under the presser foot and even see that the edge of the bottom fabric hasn't slipped. I am amazed at the difference. I love my lights.

Sunday, August 19, 2018

Another Baby Quilt

I am having problems with Picasa and I'm not sure whether it started after an update from Microsoft or an update from Google or Picasa. At any rate it has kept me from posting anything for over a month. I finally found (by accident)  workaround but I'm not sure it will keep working or if it is worth the trouble.

Well anyway....... I finished the baby quilt on which I was working but I have no picture of it that I can find. This is another baby quilt that I am about to sew together when I decide on which blocks I will use or eliminate.

This cute kitty fabric is the focus fabric with which I started.
I decided on 4.5 inch cut squares in order to get complete motif  sections.


I really wanted to use yellow for some of the pinwheel blocks. I shows up OK (but not great) up close.


But not when you step back a few feet.


I moved it around a few times and always came back to the conclusion that it doesn't show up enough because all the other pinwheels are medium or dark medium values and it is light in value.


I finally decided to use the 4 pink pinwheels and eliminate that yellow pinwheel altogether in favor of another background square.

The borders are yet to be decided.  I hope I will have my photo problems worked out by the time I get it altogether and quilted


We'll see!


Monday, July 9, 2018

A Flimsie

  I finished  this 34 inch square baby quilt this morning. I had the body of the quilt finished last night but the final seam was 1/8 inch off. All the way, from top to bottom, the blocks didn't match at the corners. I set it aside last night to decide if I wanted to fix it in the morning and I did. Everything else came together as it should so I couldn't leave one entire seam mismatched.


I was going to make this just like the "I Love Cats" quilt with hedgehog and bunny fabric instead of the cat fabric. Then I decided I would make Windmill blocks instead of pinwheels.

I spent 2 days looking for my instructions for making 4 quarter square triangles at once that were all the same. I had it figured out a few years back and I wrote instructions for it so I could do it again. I saved it in my computer but didn't remember the name under which I saved it. I had it almost figured out again when I came across it by accident.

This photo shows the lines I drew for cutting and stitching the layered squares.


Here it is cut apart cut apart. I've stitched to the center on the quarter inch line drawn to the right of the center line and then I shift to the line drawn on the left of the center line. I do this in both diagonal directions. This is helpful when making 3 piece triangle squares, I sew first and then trim and I don't have to deal with working with cut triangle points.

I press the seams open and lay the triangle pieces on the corners of a square and stitch  the long the seam.  I cut them apart and press the seams open again. Then I trim the units to the exact size I need.
The squares I work with all all cut the same size for simplicity. I use this technique for accuracy; I'm not sure if it is faster but my goal is not speed but accuracy.  Accuracy means far less frustration.


So... I made all the Windmill blocks and moved on to the alternate, square in a square, blocks with the hedgehog  fabric. I got one made and put it up on the wall between some of the windmill blocks and stopped. The hedgehog fabric and the bunny fabric would not hold up to the brighter pinwheels. What was I thinking?  All the bright fabric came in a fat quarter bundle and I bought the bundle for the "solid looking" fabrics  but  why not use the other three fabrics in the bundle. Oh....  and forget the square in a square too and skip all the bias edges. 


And here it is a bit closer so the stockings on the clothes line show up. I had decided originally that I would use the orange for the border and I think it works and kind of pulls it all together.

I have come to the conclusion that fat quarter bundles may not be a good idea for me. I am definitely trying not to add any more fabrics to my stash or leftover scraps to my bins. Fat quarters seem harmless but if you change directions after you have done some cutting or make cutting errors some of your options are lost.  Then there are the fabrics in the bundles that  I probably wouldn't buy otherwise and they go into the stash and if the time comes when they are just right for something else the fat quarter is not big enough.


Monday, June 4, 2018

Baby Quilt

I finished  this 36 inch square baby quilt flimsy  today.  It is a " Caring Quilt" to add to the stack in the closet at church. We were pretty low on baby quilts so I pulled the cat print fabric from our stash of donated fabric. I added the colorful monochromatic prints and Kona bone background from my own fabric.
The color in this photo is not true but the other photos are good.

I am having a terrible time with Picasa and Google in general. After an big update from Microsoft I am having problems with other things as well.


This  closeup of the center blocks shows the orientation of the directional print. I cut the squares  without thinking that they were going to end up "on point" after I added the background triangles. I think if works OK.


This is a secondary pattern that develops, it would be oriented on point, but I am no sure it will show up,  My fabric choices definitely makes a difference in what draws attention.


This is another secondary pattern that I see some of the time. I suppose If I wanted to emphasize a secondary design I could do that with the way I quilt it.  However, I am not going to do anything
fancy. I think something simple will work just fine.
What I see first every time I look at it, is the cat print and diagonal chains of pinwheels.


I am not so sure a print that says "I 💗 cats" will appeal to everyone. Not everyone loves cats (though I find that hard to understand). I guess the person who gives the closet quilts away will just have to figure out who gets this quilt.

I am going to make another baby quilt like this. I will use the same fabrics for the background and pinwheels and a different focus print in the squares, I think a larger scale print with no black.